


Testing .NET Core Apps with Visual Studio Code
Jun 3, 2020 • 10 Minute Read
Introduction
Two previous guides showed you how to get started developing and debugging .NET Core apps using Visual Studio Code. This guide will cover testing your apps.
Even if an app throws no exceptions, it could still have bugs. Testing is intended to highlight those bugs by discovering logical errors in your code.
Extensions
As in the previous two guides, this guide will require the C# extension to be installed. The C# extension is available from the Visual Studio Code Marketplace. To get the extension, press Ctrl-Shift-X / Cmd-Shift-X (all keyboard shortcuts in this guide are for macOS) to open the Extensions pane. In the search bar, search for "C#". Install the extension from Microsoft by clicking Install. You will make use of the tasks.json file to create a testing task.
You'll also need the .NET Core Test Explorer extension. This is installed like all other extensions, from the Extensions pane in the sidebar. This will add an icon to the sidebar that looks like a beaker in a chemistry lab. Click it to open the Test pane.
First Unit Test
The simplest way to run a test in a .NET Core app is from the command line. The dotnet test command will find all tests in a project and execute them. The testing frameworks MSTest, nUnit, and xUnit are supported. You can clone a starter project here in Github to follow along.
Create a new test project by opening the terminal in Visual Studio Code in the root of the repo and running:
$ dotnet new mstest -o NetCoreTesting.Tests
The mstest option will create a testing project for the MSTest framework. There are also options to create nUnit and xUnit tests. Run dotnet new --help for details. You'll need to reference the the class library project in the test project. From the class library project directory, NetCoreTesting.Tests, run the following command to reference the .csproj file for the class library:
$ dotnet add reference ..\NetCoreTesting.Core\NetCoreTesting.Core.csproj.
Open the repo in Visual Studio Code. Click Yes to add the build and debug assets. You may also need to restore the dependencies if prompted. The repo has a directory with a .NET Core class library project. The project has a single class that implements a random password generator. The class PasswordGenerator can be configured with a minimum length. The Generate method returns the generated password. This is the method that you will test.
In the Explorer pane rename the UnitTest1.cs file to PasswordGeneratorTests.cs and rename the UnitTest1 class to PasswordGeneratorTests. A sample test method, decorated with the TestMethod attribute, has been generated. Rename it to DefaultPasswordLengthShouldBeEight and modify the contents. This is the complete method you'll need to add a using for NetCoreTesting.Core:
      TestMethod]
public void DefaultPasswordLengthShouldBeEight()
{
    var passwordGenerator = new PasswordGenerator();

    var password = passwordGenerator.Generate();

    Assert.AreEqual(password.Length
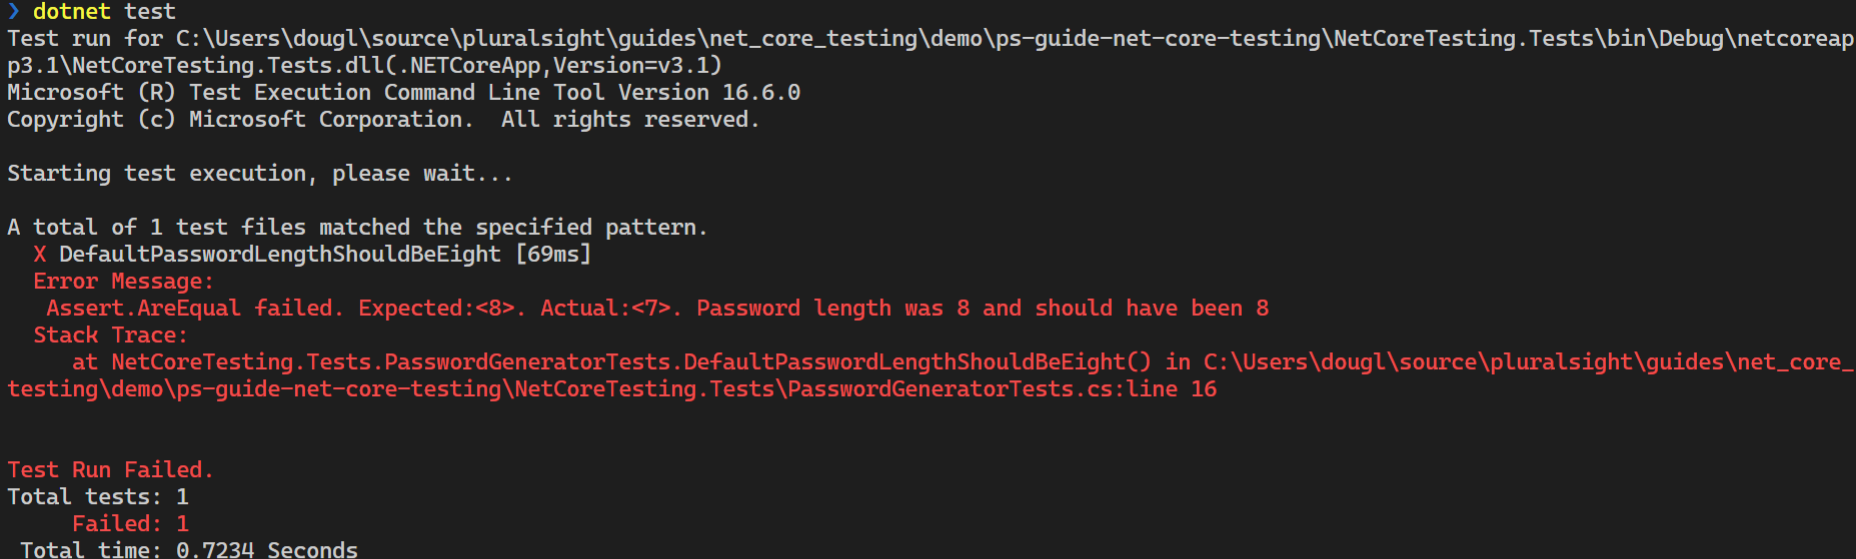
The test follows the Arrange - Act - Assert pattern. It creates a new PasswordGenerator instance and calls the Generate method using the default length, which is expected to be eight. Finally the Assert.AreEqual method accepts the actual Length of the generated password, the expected length, and a message. If they are equal everything will be fine and the test passes. Otherwise, the test fails and the message will be displayed. To run the test, execute the command dotnet test from the directory for the test project. It should pass.

Change the expected value to see the fail message.
Creating a Task
Invoking the tests manually at the command line is not always convenient. In Visual Studio Code, when you add the build and debug assets for a .NET Core project, a file named tasks.json is added to the .vscode folder. Open tasks.json and add a new task.
      {
    "label": "password tests",
    "command": "dotnet",
    "type": "process",
    "args": [
        "test",
        "${workspaceFolder}/NetCoreTesting.Tests/NetCoreTesting.Tests.csproj"
    ]
}
The label is how you will refer to the task. The command is dotnet, which is how you would run tests from the command line. The command will run in a process. The args are piped to the command. Since dotnet test is how you'll run tests from the command line, test will be the first argument. Visual Studio Code will run dotnet from the directory where the command is installed, not the test directory. You'll have to tell it where the .csproj file for the test project is located.
To run the task, open the Command Palette and search for Run Task. Highlight the label password tests and press Enter.
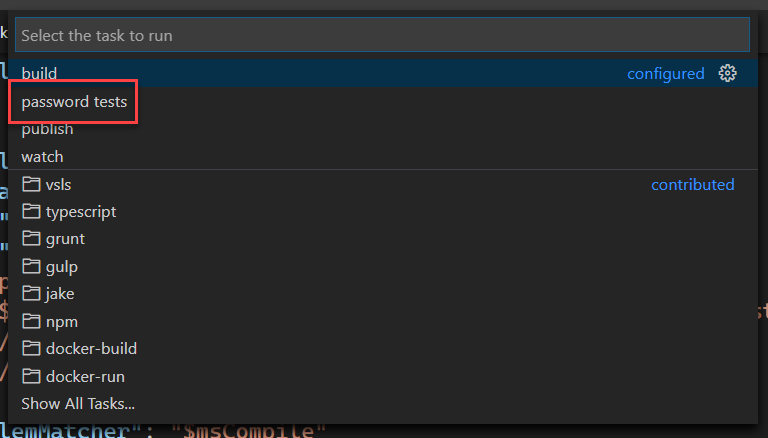
A new terminal will open, and the tests will be run. Press any key to close the terminal window.
Creating a Shortcut
This task will be quicker if you assign a keyboard shortcut to it. Open the command palette and search for "Open Keyboard Shortcuts". In the Keyboard Shortcuts tab, search for Tasks: Run Task. Click the plus icon to the left of the command. Assign a keyboard shortcut by pressing Ctrl-Shift-Alt-R or Cmd-Shift-Alt-R on macOS, and press Enter.

The keyboard shortcut will invoke the Run Task command, and you can select a task to run. To invoke the task itself, you'll need to do a little more. Run the Open Keyboard Shortcuts (JSON) command and search the JSON for workbench.action.tasks.runTask. This is the shortcut you just defined. Add the key args to the shortcut with the value password tests.
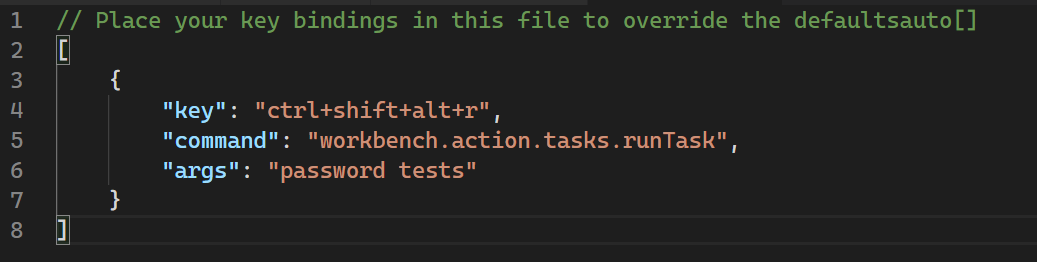
Save the file and use the shortcut to invoke the specific task.
Tests in the Editor
Those who use Visual Studio are familiar with the UI provided for running tests. The .NET Core Test Explorer extension adds a similar UI to Visual Studio Code. If you open the test pane by clicking the test icon in the sidebar, you'll see a disappointing message that no tests could be found.
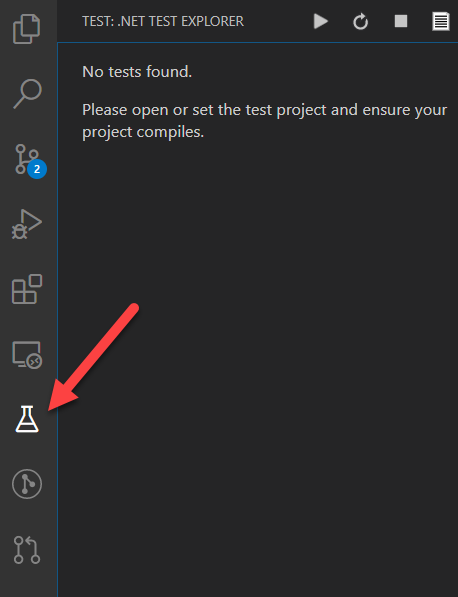
This is because the directory open in the Explorer has no tests. You'll have to set the path for the extension to search for the tests. Press Ctrl-, or Cmd-, on macOS to open the Settings tab. Search for Test Project Path. Set the path to the global pattern of **/*.Tests.csproj.

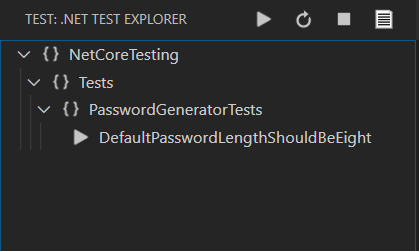
This will match any file in the directory open in Explorer that ends with .Tests.csproj. Now you'll be able to see test project in the test pane. Expand it and you can see the test.
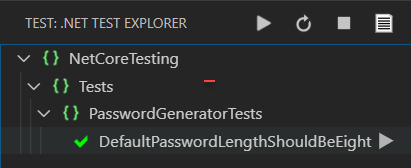
Run the test by clicking the Run button to the right of the test. A green check mark will show that the test passed.
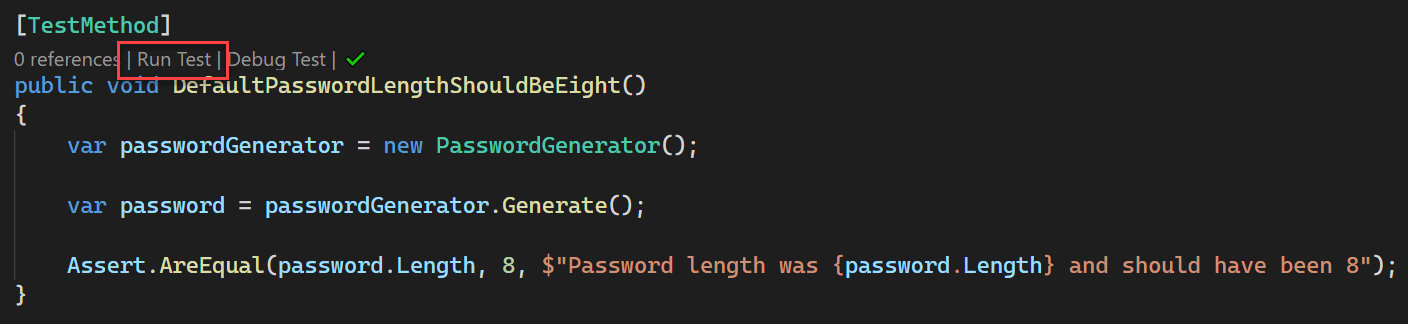
If you open PasswordGeneratorTests.cs in the editor, you'll see that links have been added to the PasswordGeneratorTests class to run all tests and to run each test method.
What happens when a test fails? Since you should always start with a failing test, let's write one. Add a new test method to PasswordGeneratorTests. (You'll need to add a using for System.)
      TestMethod]
public void NegativePasswordLengthShouldThrowException()
{
    var passwordGenerator = new PasswordGenerator(-1);

    Assert.ThrowsException<ArgumentOutOfRangeException>(() => passwordGenerator.Generate());
}
Obviously, a password with a negative length makes no sense. Attempting to do this should throw an exception. The Assert.ThrowsException method will run the code in a lambda expression and assert that it throws a particular type of exception. If you look in the test pane and click the Refresh button at the top, you'll see the new test. Run it by clicking the Run button to the right of the test. The red X is displayed for the failing test.

To make the test pass, add some code at top of the Generate method in PasswordGenerator.cs in the class library project.
      if (MinLength < 0) {
    throw new ArgumentOutOfRangeException("MinLength", "Password length cannot be negative");
}
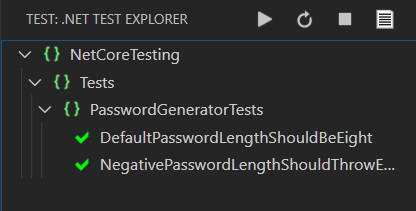
Run the NegativePasswordLengthShouldThrowException test again. It should pass. To make sure all the tests still pass, click the Run All Tests button at the top of the test pane. Everything should be working now.
Conclusion
Depending on your workflow, there are many ways to test .NET apps in Visual Studio Code. If you want to keep your hands on the keyboard, run tests from the command line. To save a few steps, add a testing task and assign it a keyboard shortcut. You can also see the results in the UI with the help of some extensions. Thanks for reading!

Advance your tech skills today
Access courses on AI, cloud, data, security, and more—all led by industry experts.

